


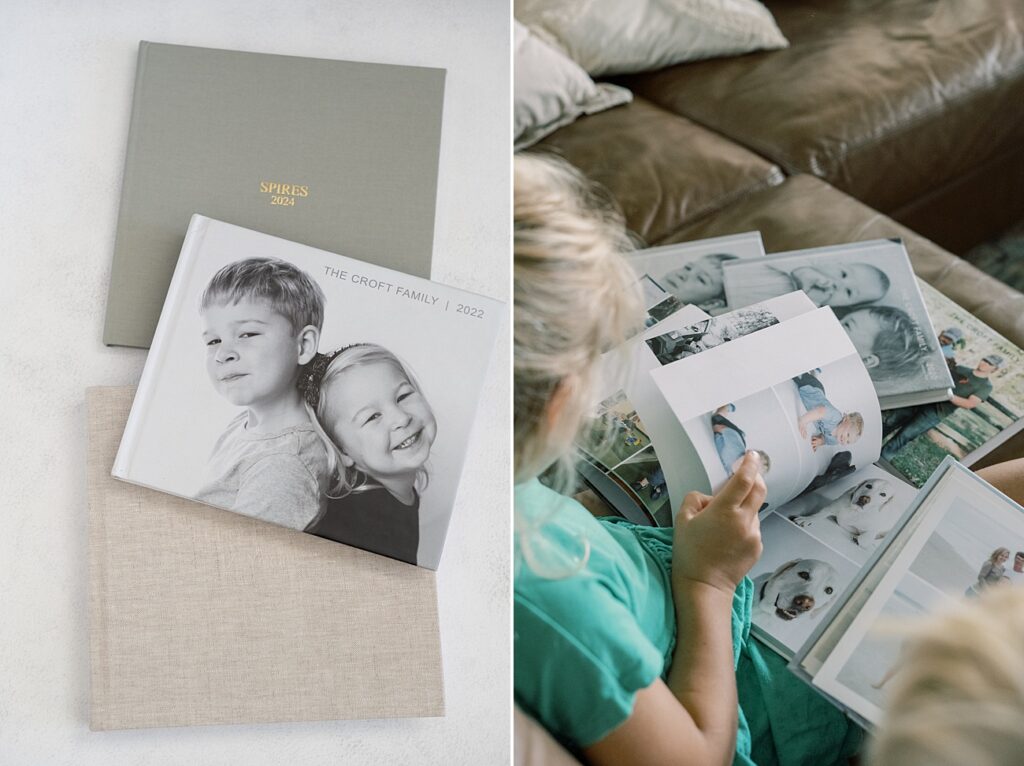
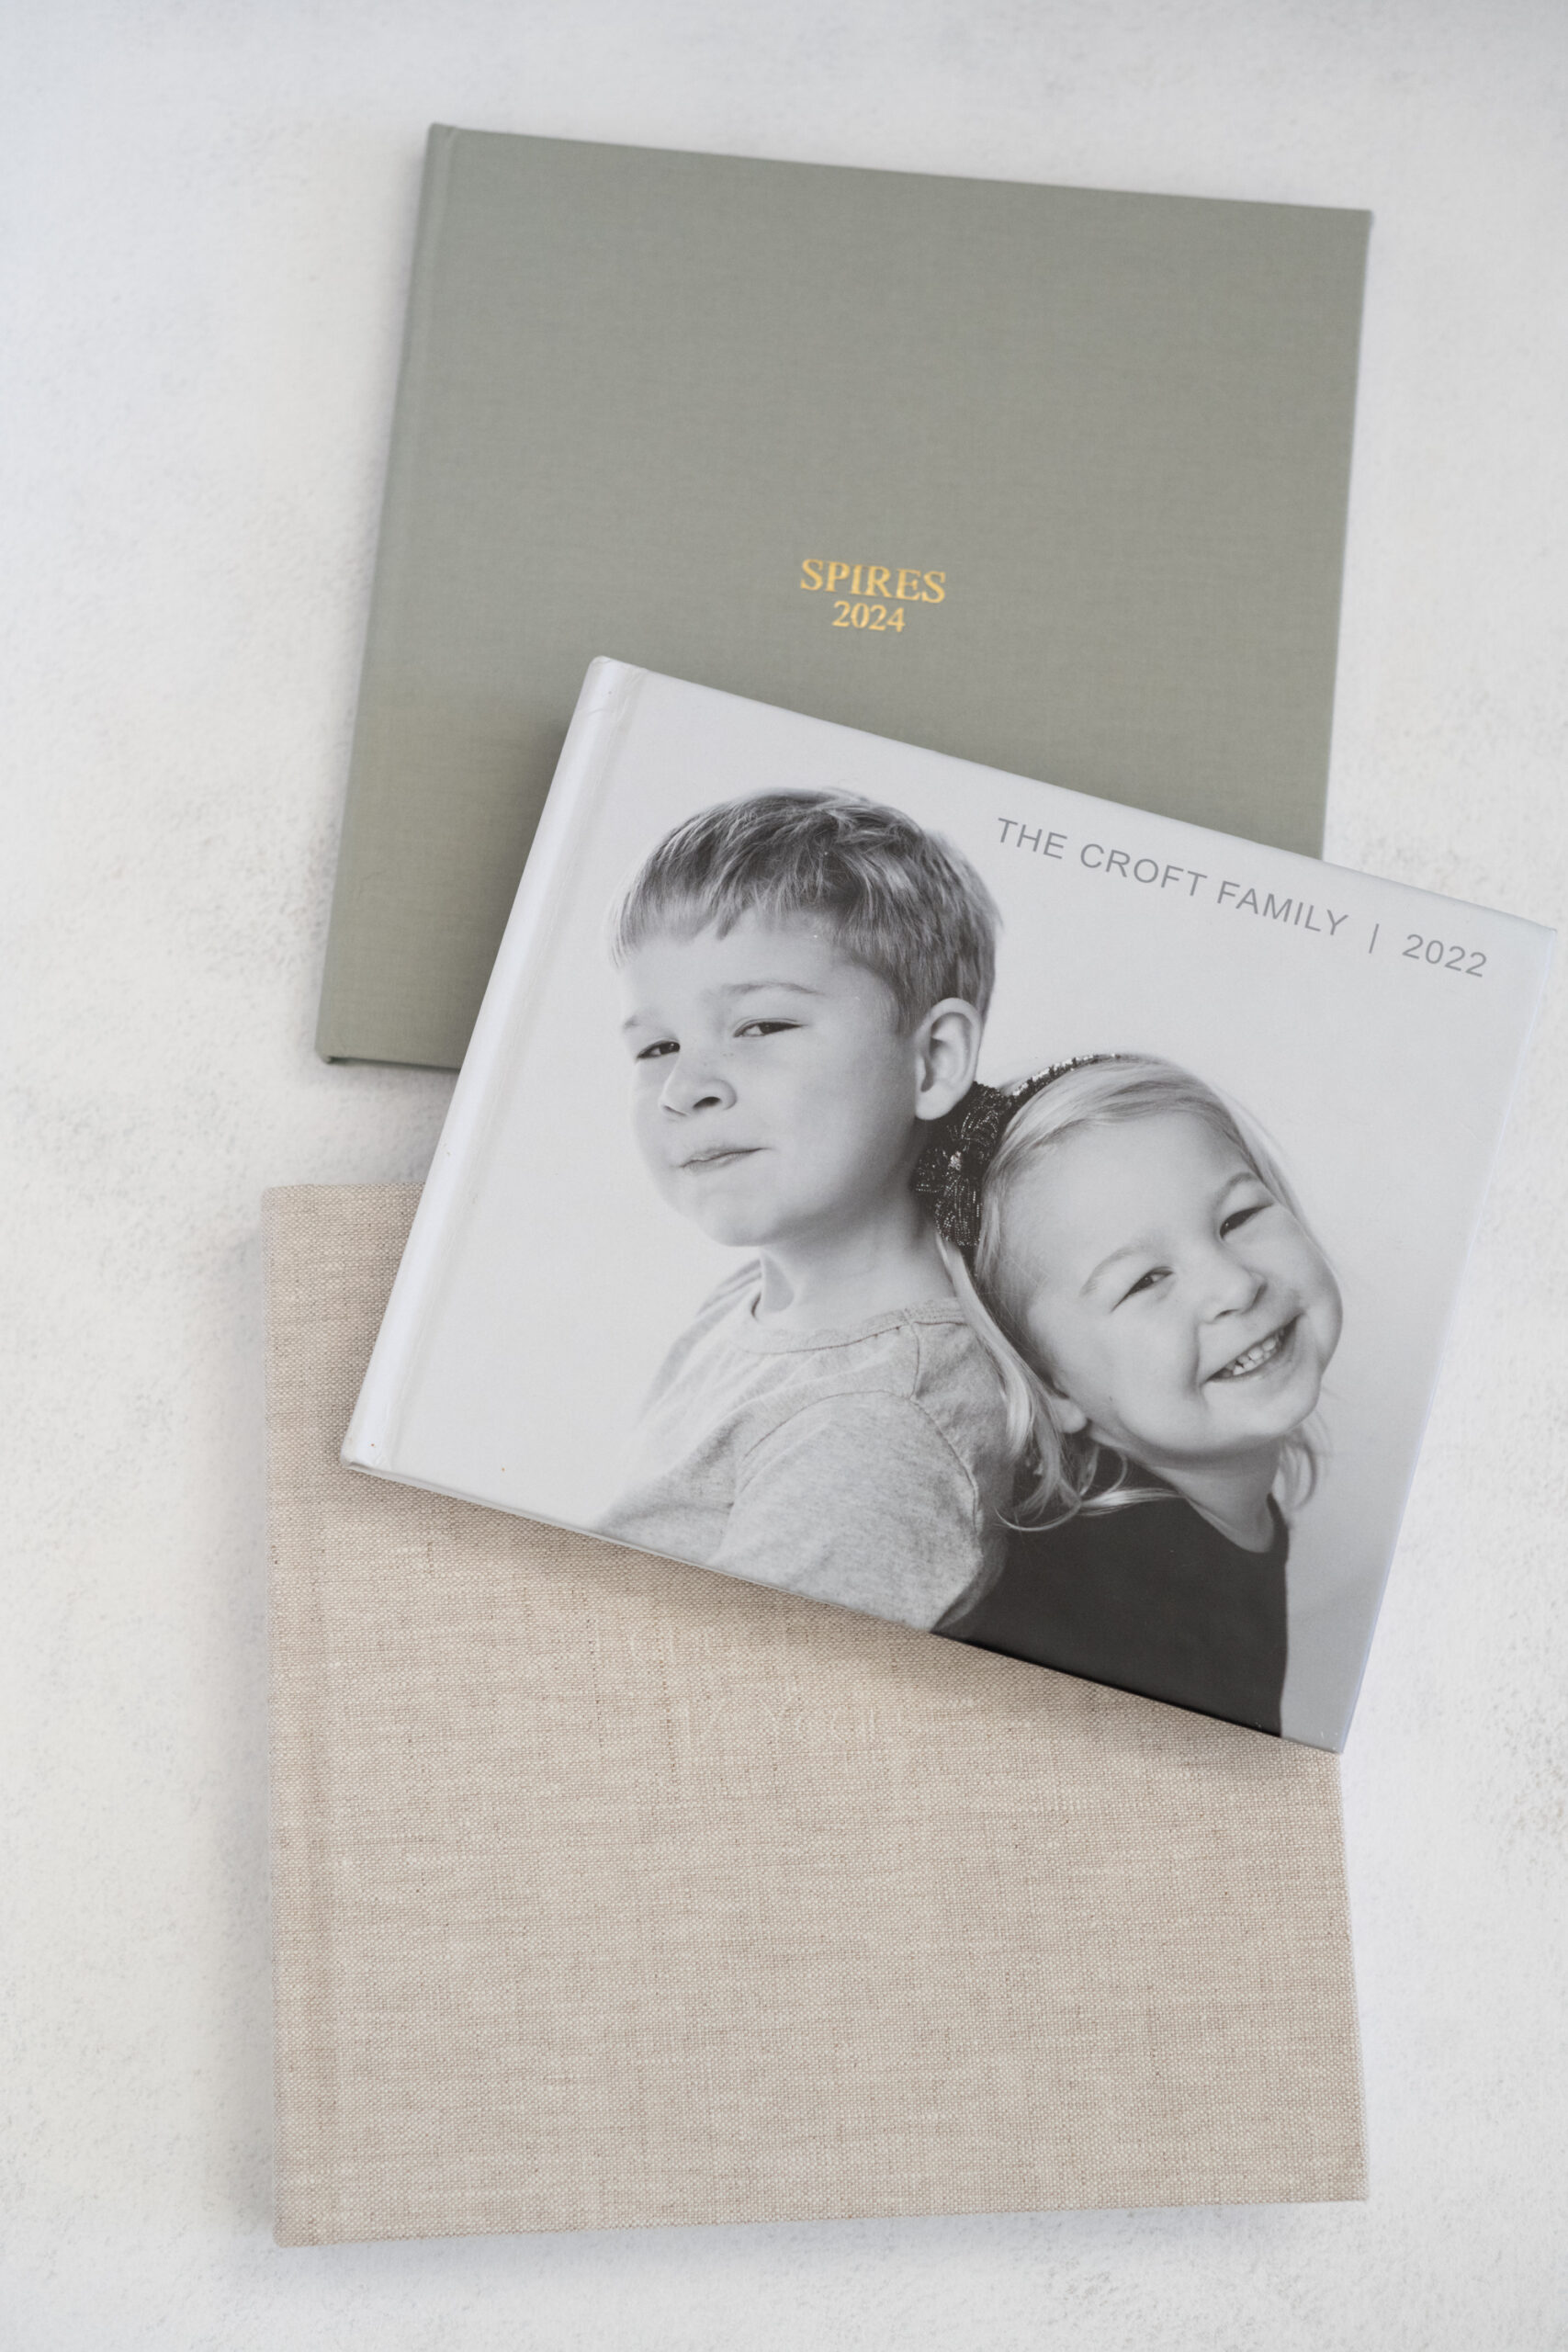
If you’ve ever tried to create a family yearbook or album, you know the hardest part isn’t the design…it’s choosing which photos to include. With thousands of moments sitting on your phone, the process can feel overwhelming before you even start. The good news? It doesn’t have to be complicated. I’ve created a simple step-by-step guide that will help you sort, select, and share your favorite photos so you can finally get that family yearbook made, whether using my family yearbook service or on your own, without spending forever trapped inside your camera roll, never making progress.
STEP ONE: GET YOUR PHOTOS IN ONE PLACE
Before you start selecting, make sure your photos are backed up in one easy-to-access location. This is easy to do at the end of the day when you plug in your phone; each of these apps will run in the background overnight. Choose one of these cloud options:
- Amazon Photos (great for iPhone users)
- Google Photos (great for Android and desktop users)
- Dropbox is a solid option as well
Tip: These services make it super easy to create and share a folder link — no file size worries!
STEP 2: CREATE A SHARED FOLDER
- Make a new folder titled something like “2025 Yearbook Photos”
- You’ll add your selected favorites here.
- When you’re done, you’ll just share the folder link with britt@brittcroft.com.
STEP 3: WORK IN SMALL CHUNKS
Don’t try to do it all at once — it’s way easier (and more fun) to break it up:
- Pick one or two months at a time to go through. Designate 6 nights in a row for this task.
- Spend 20–30 minutes each evening choosing your favorites.
- Aim for ~40 photos per month (you can send up to 500 total). Some months will be heavier and some will be lighter due to holidays, travel, birthdays, etc.
STEP 4: CULL WITH PURPOSE
As you go through each month’s photos, keep only:
- Milestones (birthdays, trips, celebrations, holidays)
- Everyday moments that tell your family’s story
- A few portraits or favorites from each session or event
Skip: duplicates, blurry shots, screenshots, or random filler moments. - Do not fall in the trap of deleting or organizing, this can come later. The goal right now is only to focus on what is most important.
STEP 5: DOUBLE-CHECK & SHARE
Once you’ve gone through all your photos:
- Review your shared folder — remove any accidental duplicates.
- Make sure it’s around 300–500 total photos.
- Share the folder link with Britt!
You did it! Your family’s memories are now ready to become a beautiful heirloom yearbook that tells your story…simply and intentionally.


+ COMMENTS
add a comment